
Set up working Node addons (node-gyp) environment on Windows

Starting to develop Node applications on Windows is much easier than it used to be. Most of the problems I encounter these days are related to the native addons. Tool called node-gyp is commonly utilized in the addon space:
node-gyp is a cross-platform command-line tool written in Node.js for compiling native addon modules for Node.js. It bundles the gyp project used by the Chromium team and takes away the pain of dealing with the various differences in build platforms.
Alternative for node-gyp is CMake.js.
Addon is the glue between Node application and C/C++ libraries. You'll encounter addons when your project has a dependency to a library such as PhantomJS, node-sqlite, node-sass etc.
The Goal
Most of the Node articles focuses more on the Node and npm installation, but our aim in this article is to get working Node environment, and that includes building of native code. I successfully installed everything on Windows 10 and Windows 8.1 operating systems.
Let's start with Python, which isn't installed by default on Windows environments.
Python
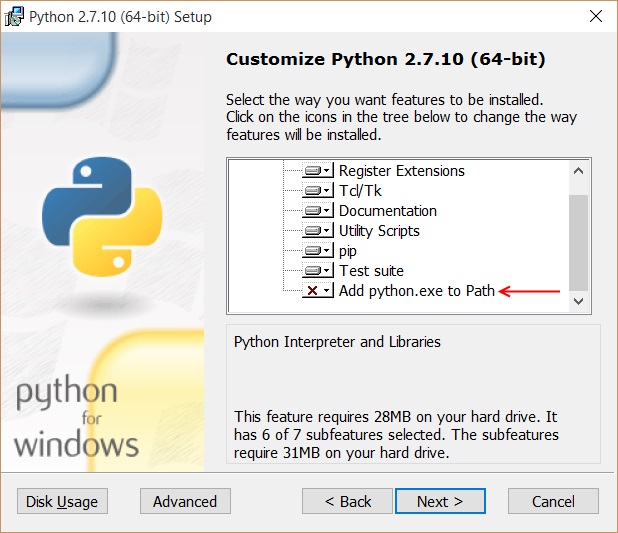
To download correct Python installation package, we need to pick 64-bit or 32-bit version of latest 2.9.x Python branch. Python 3.x isn't compatible with the gyp (more on that later). My installation package is named: python-2.7.10.amd64.msi
When installing, I highly recommend enabling the last option in the Customize Python step. It will add python.exe to the Path environment variable and therefore you can use Python from any directory when using a command line.
To test is Python installed, open PowerShell/Command Prompt and type python. You should see something like this:
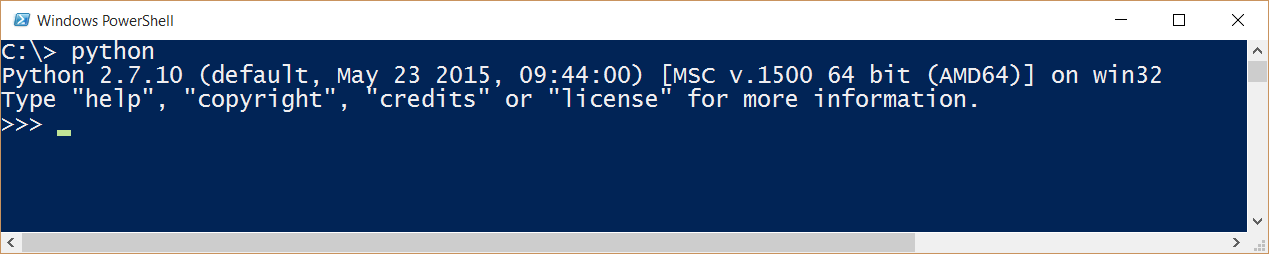
Note: If you had a command line open when installing Python then you might have to close it and open again as Path environment variable might not be updated.
Visual Studio & SDK
The Microsoft build tools and their compatibility is uncharted territory for me, but I have found that this particular version of Visual Studio has worked great. It's Visual Studio Express 2013 for Windows Desktop.
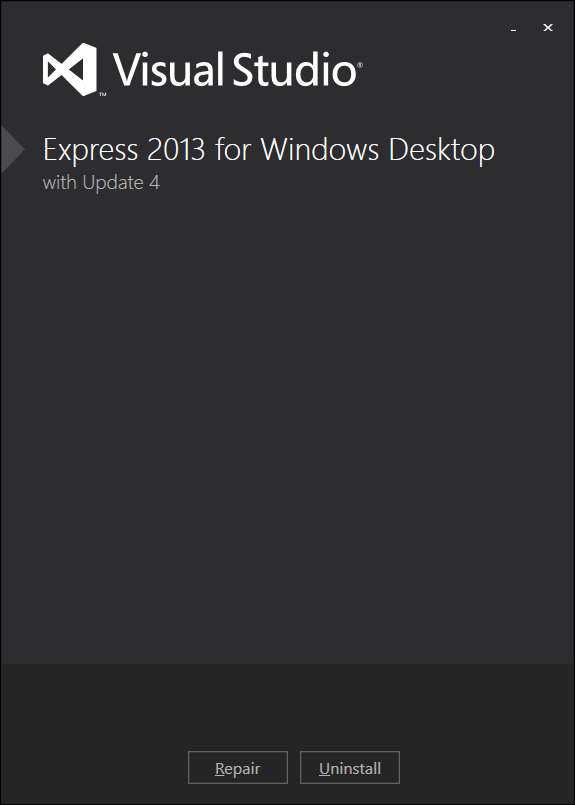
After successful installation, I downloaded and installed Microsoft Windows SDK for Windows 7 and .NET Framework 4.
How to test is build working
To have a simple build test, let's clone node-sass that is an npm package that provides bindings to the libsass. Libsass is a C version of popular CSS-preprocessor, Sass.
With command git clone https://github.com/sass/node-sass.git we can clone that repository to your local storage.
Most of the packages have a package.json configured so that it will build the binaries on npm install.
Here is a snippet from node-sass:
"scripts": {
  "coverage": "node scripts/coverage.js",
  "install": "node scripts/install.js",
  "postinstall": "node scripts/build.js",
  "pretest": "node_modules/.bin/jshint bin lib scripts test",
  "test": "node_modules/.bin/mocha test"
},
The postinstall step is where the build happens in this case. We can see this in the end of the npm install:
The post build in the node-sass uses its version of node-gyp, but if you're developing your addon you might want to install node-gyp globally. Global installation can be done using a command: npm install -g node-gyp. See node-gyp documentation's "How to use" section for more instructions how to build addons manually.
Final words
Hopefully, now you have a working build environment. I have found that easiest way is to install everything on a clean table. node-gyp readme and Wiki has plenty of troubleshooting information if you get stuck. I wish you luck and ping me a message if you get stuck, and I'll try to help!